Creating Images From Code

This is a simple C++ program that outputs a Bitmap file based on user input. I limited the bit depth of the generated images to a fixed 24 bits, so each pixel could be represented in three bytes.
The BMP file format on Wikipedia
BMP files are simple lossless raw bitmap image file format. BMP files consist of a 14 byte file header, ( I went with ) a 40 byte information header and the data itself. Each row of the data must be a multiple of 4 bytes, so the data is sometimes padded depending on the resolution or bit depth. With C++ I used an 8 bit integer ‘uint_fast8_t’ which is in the ‘cstdint’ header to store each byte of the file.
After much fiddling, I had the correct layout for my file and could create a white bmp image of any resolution.
Here is the hex data for a 10×10 white image. The first 54 bytes show the header, and the occassional “00 00” within the data is the offset of two bytes required so each row of the image has a multiple of 4 bytes .
To make my image more exciting I added a function to set a specific pixel of the image to any colour.
void pset(uint x, uint y, uint rgb)
{
	//check x and y is within image
	if (x >= _width || y >= _height)
	{
		std::cout << "coord out of range at:   x:" << x << "  y:" << y << std::endl;
		return;
	}
	//get the index of the first byte of the pixel
	uint posOfP = (y * (_width * _bytesPerPixel)) + (x * _bytesPerPixel);
	_data[posOfP] = (byte)(rgb);
	_data[posOfP + 1] = (byte)(rgb >> 8);
	_data[posOfP + 2] = (byte)(rgb >> 16);
}
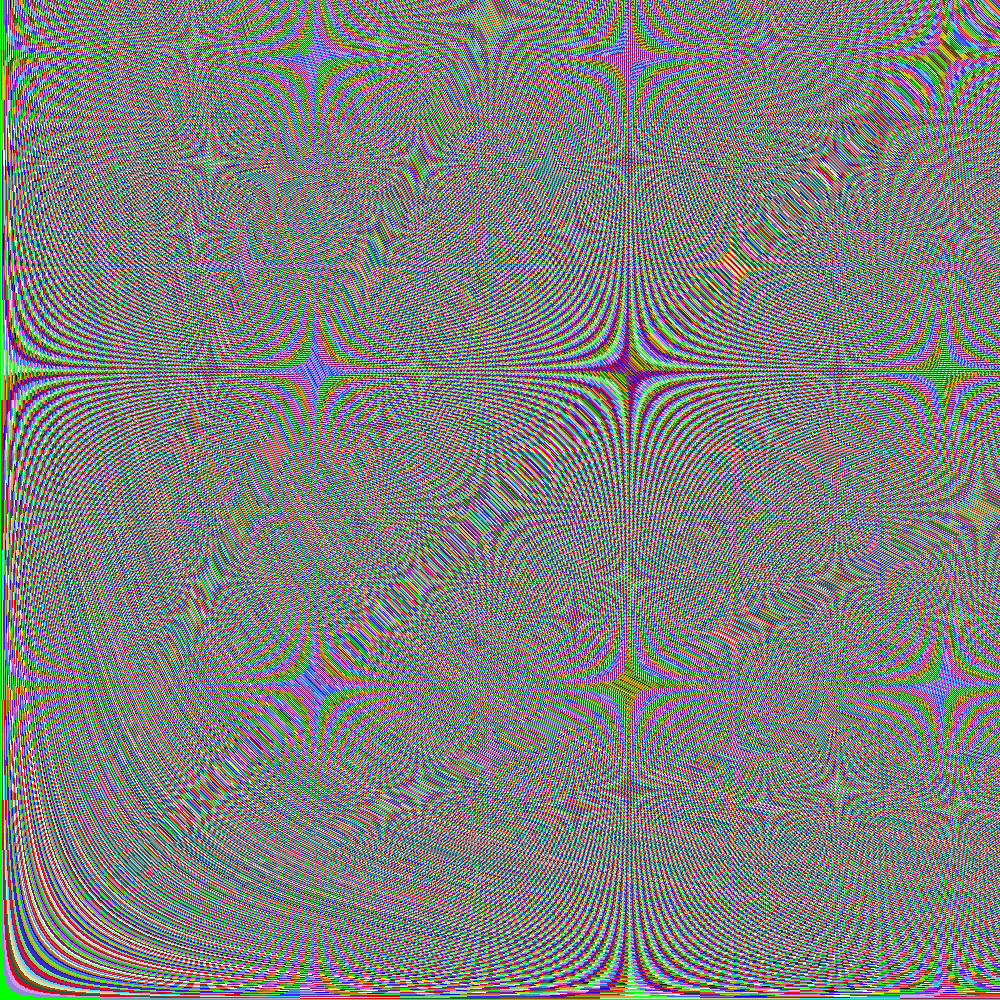
I first modified the colours with trig functions and got this result. (note this was converted to a png with other software to save space on the server).

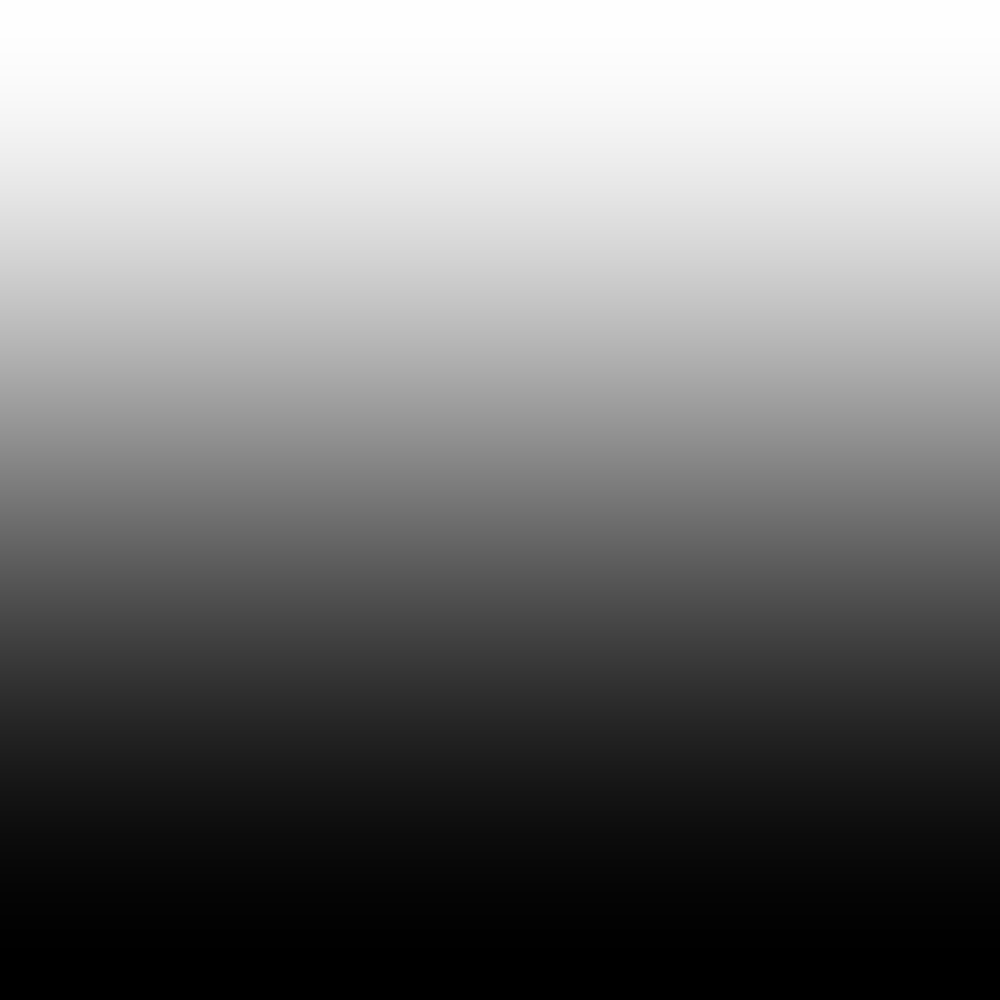
Using a trig funtion on one axis and limiting the input to between 0 and pi/2, then gamma correcting, gives an even gradient effect.

I then thought about having a gradient go from one colour to the other, so I made this function:
Colour gradient(Colour col1, Colour col2, double intensity)
{
	col1.multiplyBy(intensity);
	col2.multiplyBy(1 - intensity);
	col1.R = (col1.R + col2.R);
	col1.G = (col1.G + col2.G);
	col1.B = (col1.B + col2.B);
	return col1;
}
where intensity is the distance along the image on a particular axis:
double gradientValue(double index, double total)
{
	double val = abs(sin((((double)index / total) * (3.1415 / 2))));
	return pow(val, 2.2);
}
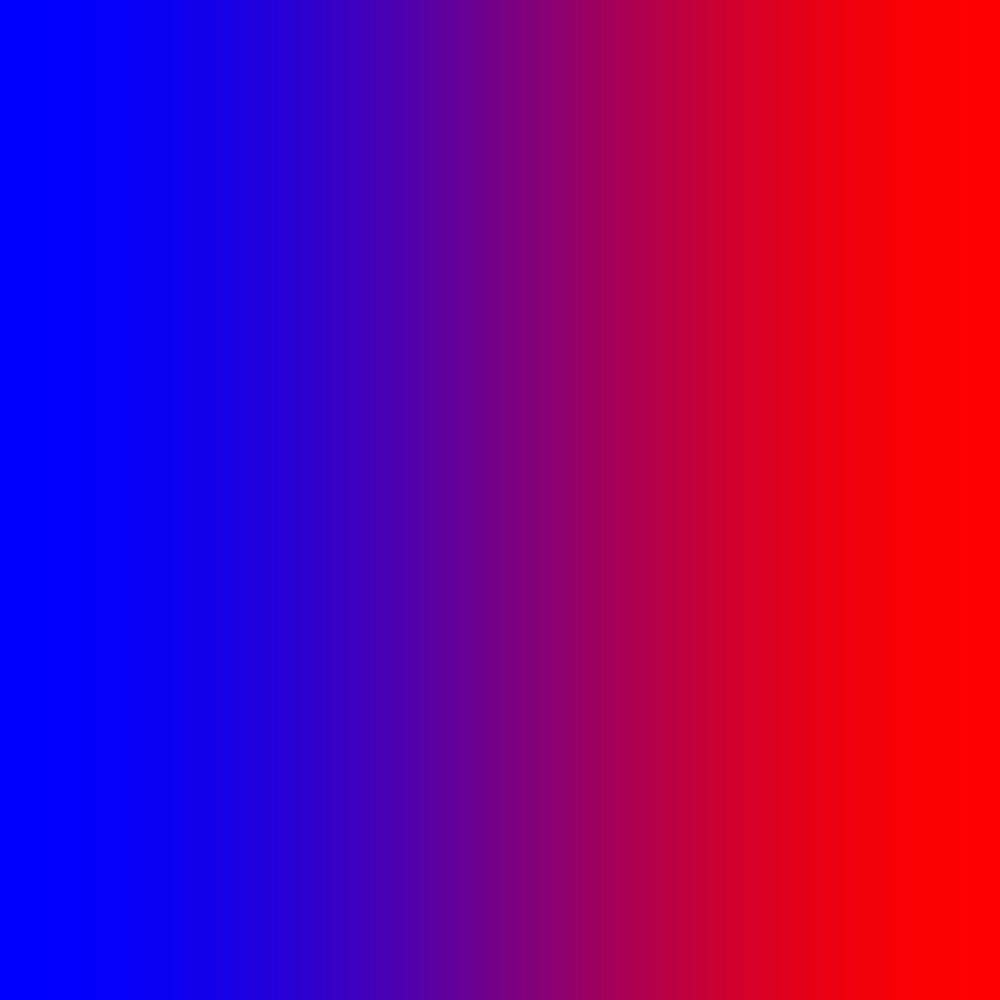
Going between Red and Blue results in this image:

I am happy with the resulting gradient as it closely matches gradients produced by image editing software such as Photoshop.
The bmp files shown in this post are in a folder in the repo.
With that, I have somewhat satisfied my curiosity on how to create an image file. Perhaps in the future I could expand the code to export into other image formats, or use a graphics library such as OpenGL to display the images and allow the user to modify and create their own.